
OK, so it's been two and a half years since I was given this quilt kit - but who's keeping track, haha!

This seemingly simple and small wall hanging was quite the challenge with LOTS of firsts for me...
It was the first quilt that I ever started. (Attempting Something New) I had no idea what I was doing so I just tried to follow the directions that came with the kit which, might I add, were written for someone with quilting experience, ugh. So, there was a lot of googling going on trying to make sense of it.
I started it then stopped. Started again and stopped. Each time getting discouraged because I wasn't sure what I was doing.
Then, I took a quilting class. After learning how to square and piece the quilt top, I proceeded to rip the majority of the quilt top down to the strips and started over. (Quilt Explosion)
Once I fixed the top as best I could it was time to make the quilt sandwich (quilt top, batting and backing) and start quilting.
The instructions called for hand quilting. Oh goody! I had no idea how to hand-quilt.
So, I tried to machine quilt it. (Epic Fail)
It did not go well so I put it aside. Again.
After the failed attempt at machine quilting I did some more googling, and watching of YouTube videos on hand quilting and finally got up enough nerve to try it.
I bought a hoop and several thimbles (flat-top metal, rounded-top metal, silicone) to try hoping these would help.
It was awkward and not going very well. I couldn't get the stitches small and even no matter how much I practiced. There was a LOT of ripping out going on! Eventually, I got frustrated and put it aside. Again.
But, since one of my goals for this year was to finish up all projects that had been started before the first of this year I knew I had to knuckle down and tackle this wall hanging again. (I also needed to finish it so that I didn't have to keep moving it every time we moved to another location, wink!)
At
this point I was still torn as to how I was going to quilt this wall
hanging because neither was going very well.
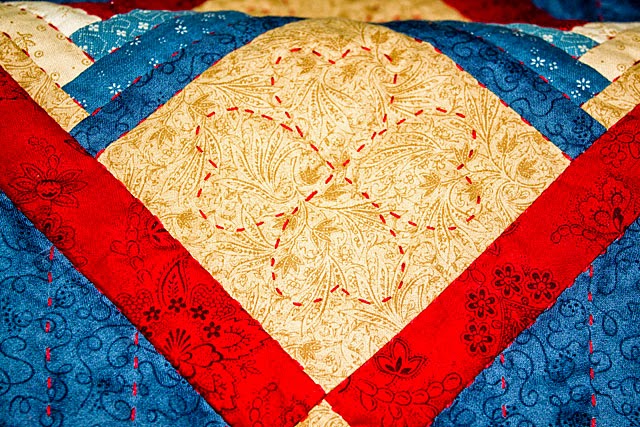
I finally came to the decision to simply do my best at hand quilting. So, after yet some more googling and YouTubing, I chose to use an embroidery thread and a longer stitch and just went for it.
Once I figured out the right tension of the quilt in the hoop (looser is better so that you can move the needle up and down throughout all three layers) and got the right thimble it was much easier.

There were lots and lots of poked fingers but once I got the hang of it I rather enjoyed it. I still poked some fingers but not as often, wink!
I even chose to hand stitch the binding. Another first for me since I learned to machine quilt the binding in my quilting class. So, I checked Pinterest and found a great tutorial on how to hand stitch the binding.
There are mistakes which simply says that it was handmade but, overall, I'm pleased with how it turned out.
I learned so much from this seemingly simple little wall hanging.
I hope the recipient likes it as much as I enjoyed the challenge of making it!
Till next time my friends...

3 comments:
Looks good ! Hey life gets busy and some things just get put on the back burner for a bit ! Thanks for sharing , Have a good week !
It looks amazing! This is a great first quilt finish. Your hand quilting is beautiful too. You aren't going to keep it? I hope you will try quilting again, you have learned so much in making this one.
Mistakes are what makes the best memories! I'm proud of your perseverance - even though I'm categorically opposed to hand stitching anything! Don't judge- ;)
Post a Comment